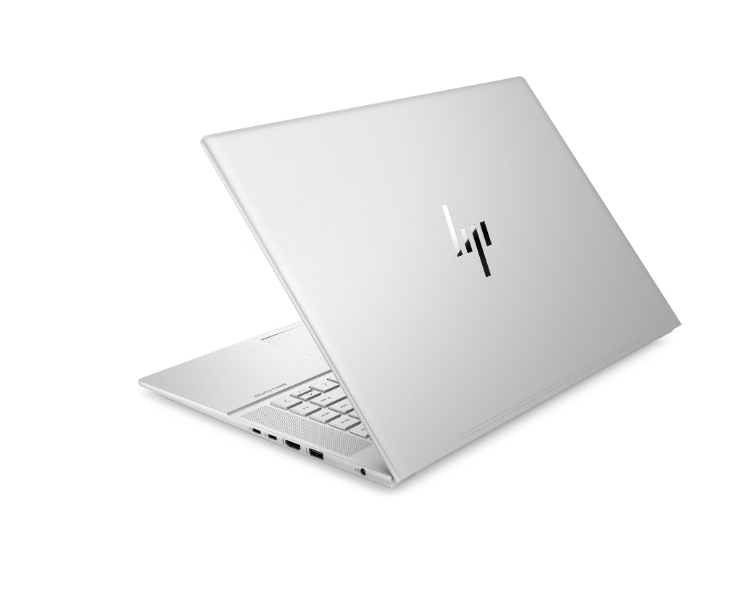
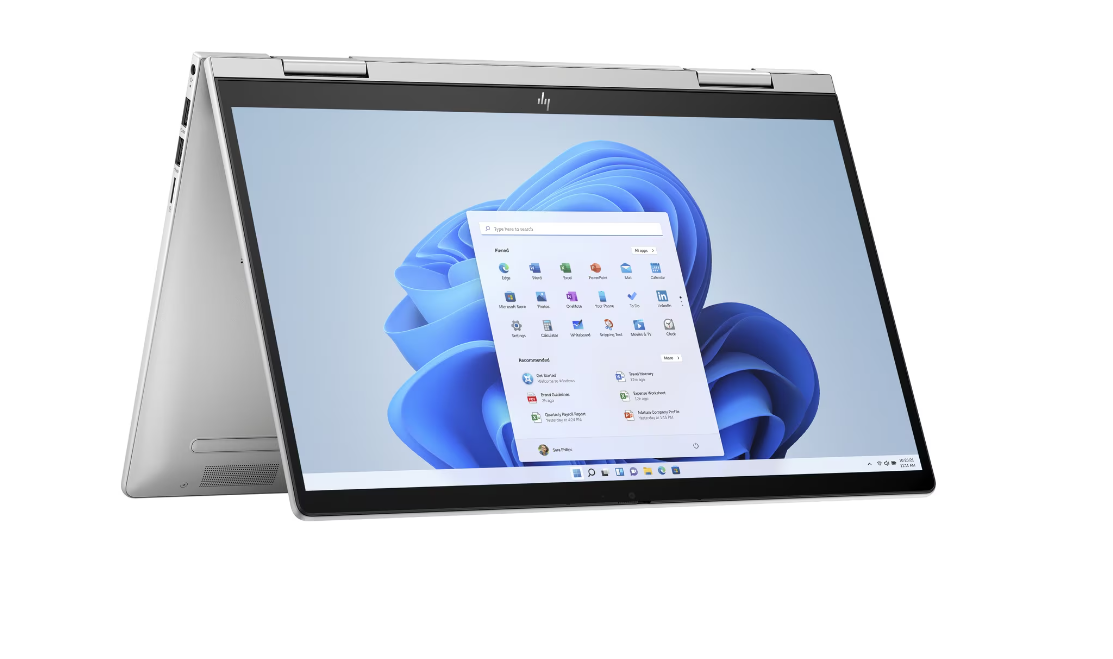
Screenshots have become an indispensable part of our digital interactions. Whether you’re a tech enthusiast, student, remote worker, or someone who loves to share snippets of online content, knowing how to take a screenshot is essential. If you own an HP laptop, this guide will walk you through various methods to capture your screen effortlessly.

Understanding the Basics
What is a Screenshot?
A screenshot is a digital image that captures the contents displayed on your screen. It allows you to save and share important information, solve issues, or just record interesting happenings. Screenshots may be used in a variety of situations, including developing instructional materials and gathering error messages for technical support.
Overview of Screenshot Shortcuts
There are several keyboard shortcuts for taking screenshots on an HP laptop:
- PrtScn (Print Screen): Captures the entire screen.
- Alt + PrtScn: Captures only the active window.
- Win + Shift + S: Opens the Snip & Sketch tool for more advanced screenshot options.
These shortcuts offer quick and easy ways to record your screen, catering to a variety of purposes and tastes.
Step-by-Step Guide for Windows 10/11
Using the PrtScn Key
- Locate the PrtScn Key:
- Typically found in the top row of your keyboard, labeled as “PrtScn” or “Print Screen.”
- Capture the Entire Screen:
- Press the PrtScn key. The screenshot will be copied to the clipboard.
- Open an image editor like Paint, paste the screenshot, and save it.
- Save Directly to File:
- Press Win + PrtScn. The screen will dim momentarily, and the screenshot will be saved in the “Screenshots” folder under “Pictures.”
Using Alt + PrtScn
- Capture the Active Window:
- Press Alt + PrtScn. Only the currently active window will be captured.
- Open an image editor like Paint, paste the screenshot, and save it.
- Save and Share:
- This method is ideal for capturing specific application windows without including the entire screen.
Using Win + Shift + S
- Open Snip & Sketch:
- Press Win + Shift + S. The screen will dim, and a toolbar will appear at the top.
- Select Capture Type:
- Choose from Rectangular Snip, Freeform Snip, Window Snip, or Fullscreen Snip.
- Capture and Save:
- Select the area you want to capture. The screenshot will be copied to your clipboard. Open Snip & Sketch or another image editor to save and edit the screenshot.
Utilizing Snipping Tool or Snip & Sketch
Introduction to These Tools
Snipping Tool and Snip & Sketch are built-in Windows tools that offer more flexibility and features for capturing screenshots.
- Snipping Tool: An older tool with basic functionality.
- Snip & Sketch: A more modern tool with additional features, replacing Snipping Tool in newer Windows versions.
How to Access and Use Snipping Tool
- Open Snipping Tool:
- Search for “Snipping Tool” in the Start menu and open the application.
- Choose Snip Type:
- Click “New” and select from Free-form Snip, Rectangular Snip, Window Snip, or Full-screen Snip.
- Capture and Save:
- Capture the desired area and save the screenshot using the “Save” button.
How to Access and Use Snip & Sketch
- Open Snip & Sketch:
- Search for “Snip & Sketch” in the Start menu and open the application.
- Create a New Snip:
- Click the “New” button, which opens the snipping toolbar.
- Capture, Edit, and Save:
- Capture the desired area, then use the built-in editing tools to annotate or highlight parts of the screenshot. Save your edited screenshot.
Alternative Methods for HP Laptops
Overview of Third-Party Software Options
While built-in tools are sufficient for most users, third-party software offers additional features and customization options. Some popular alternatives include:
- Lightshot: Simple and user-friendly, with editing and sharing features.
- Greenshot: Advanced options for capturing scrolling windows and integrating with other applications.
- Snagit: Comprehensive tool with powerful editing capabilities and video capture.
Pros and Cons of These Alternatives
1. Lightshot:
- Pros: Easy to use, quick sharing options, lightweight.
- Cons: Limited advanced features, requires internet connection for sharing.
2. Greenshot:
- Pros: Highly customizable, supports scrolling captures, integrates with other tools.
- Cons: Slightly more complex interface, may require configuration
3. Snagit:
- Pros: Extensive editing tools, video capture, templates for consistency.
- Cons: Paid software, may be overkill for basic needs.
How to Use Third-Party Software
- Download and Install:
- Visit the official website of the chosen software and download the installer.
- Configure Settings:
- Open the software and configure settings according to your preferences.
- Capture Screenshots:
- Use the software’s capture options to take screenshots, then edit and save as needed.
Tips for Enhancing Screenshot Quality
Add Your Heading Text Here
- Resolution and Display Settings:
- Ensure your screen resolution is set to the highest available setting for clearer screenshots.
- Image Format:
- Save screenshots in high-quality formats like PNG to retain clarity and detail.
- Edit Before Saving:
- Use editing tools to crop, adjust brightness, and enhance clarity before saving.
Highlighting the Importance of Clear and Relevant Screenshots
- Focus on Key Information:
- Capture only the relevant part of the screen to keep the screenshot concise and informative.
- Use Annotations:
- Add arrows, text, and highlights to highlight important areas.
- Consistent Style:
- Maintain a consistent style and format for professional-looking screenshots.
Conclusion
Screenshotting on an HP laptop is a valuable skill that can enhance your productivity and communication. You can easily capture and share information by mastering the various methods and tools available. Please remember to choose the best method for you, whether a quick PrtScn or an advanced Snip & Sketch capture.
If you found this guide helpful, why not explore more about enhancing your tech skills? Our team is here to support you on your tech journey.
Happy capturing!


Pingback: From Vintage to Virtual: The Evolution of Logitech Keyboards - newsinmarket.com